Create an export
Exports allow you to generate files containing data from the system.
1. Open the exports view
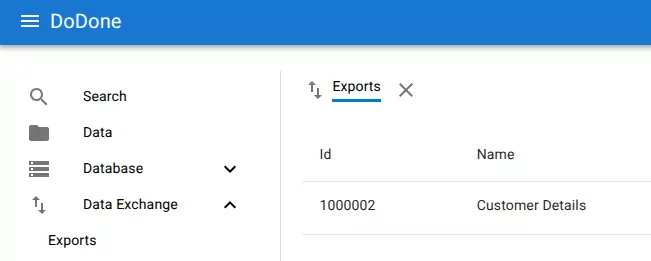
Open Data Exchange → Exports from the navigation menu.

2. Click add export
Click the + button in the top-right corner of the exports list.

3. Configure the export
Fill in the export settings in the Add export dialog.
Common fields include:
- Name – the name of the export
- Description – optional description
- File name – the generated file name
- File type – choose CSV or XLSX
- Source table – the table to export data from
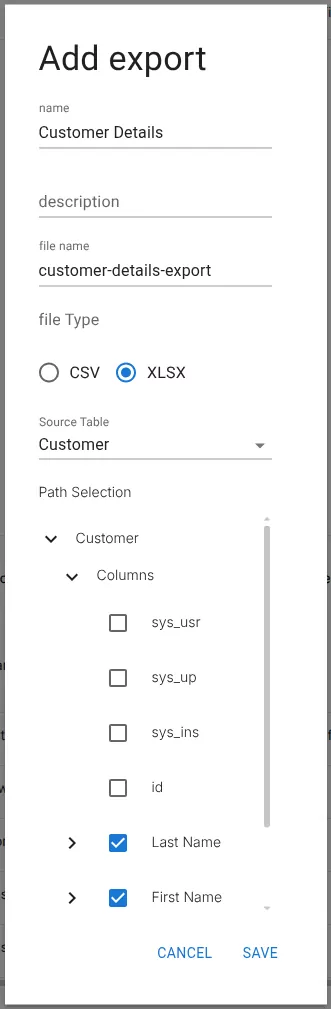
4. Select fields to export
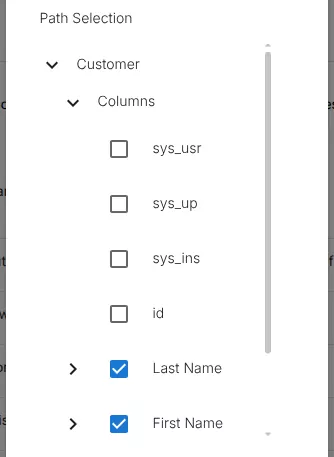
Use Path Selection to choose which fields should be included in the export.
You can select columns from the source table and related tables.
5. Save the export
Click Save to create the export.
The export will appear in the exports list and can be run to generate a file.
Related resources
Understand the concept